6 Auto Detailing Tips To Make Your Car Look Brand-New
5 min read(Editor’s note: In this car maintenance series, we take you through different automotive hacks. This guide to auto detailing contains tips that may damage your vehicle if done incorrectly. If you are not confident about the use of auto detailing tools and techniques, it’s always best to seek help from a professional.)
One of the most satisfying feelings a car lover can experience is pulling out their ride fresh from the car wash. That moment when you can see your reflection from the door panel? Priceless.
But as we age along our rides, we’ll inevitably see the luster fade and the once pretty exterior be peppered with nicks and scratches. And the feeling sinks a little deeper than before.
You don’t have to fret for long though, because you can do something about it. Here are some do-it-yourself auto detailing tips to get you started on your squeaky-clean car-owner journey.
What is auto detailing and how much does it cost?
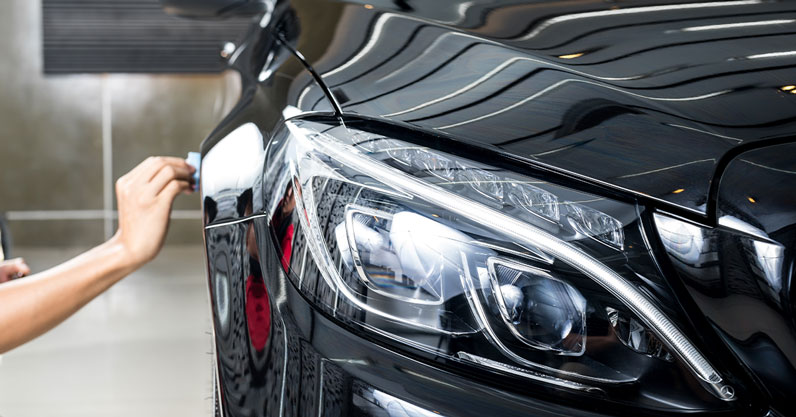
Simply put, auto detailing is a top-to-bottom thorough cleaning of your vehicle using specialized tools. The aim is to make your car look like it just came out of the factory.
Most auto detailing services perform some cosmetic touch-ups, while others can do paintwork and body repairs.
Auto detailing could also fetch more than a pretty penny—small repairs start at ₱1,500 then upwards to tens of thousands, depending on what you want done and the kind of vehicle you have.
So go beyond the usual car wash and three-step routine, and learn a few indispensable DIY skills to save money for gas and keep your car running well and looking good.
DIY auto detailing tips
Here are some not-your-usual tips to maintain your car’s exterior:
1. How to touch up chipped paint
Chipped paint is like a small open wound. If you don’t cover paint chips they’ll get infected with rust and then you’ll have a much bigger problem on your hands.
Touch-ups are actually easy, like dressing a wound. Just buy touch-up paint, fine-tip paint applicators, and wax-and-grease remover from your favorite automotive shop. Remember to select a color that closely resembles that of your vehicle.
Clean the chip with the wax and grease remover and let it dry. Then dip the applicator in the paint and dab it onto the chip. Don’t add too much or the paint will drip. Let it dry completely and apply wax after 30 days.
2. How to fix small dents and door dings
Patching up small dents and door dings in your car might seem intimidating at first, but it can actually be done without a professional. What you’ll need are various sandpaper grits, a small can of autobody filler or masilya and cream paste and plastic applicators.
- Start by sanding the dent down to bare metal with coarse grit sandpaper. Then feather the edges.
- Clean the dents with wax and grease remover. Then mix the body filler and apply a very light skim coat to fill in the sandpaper scratches.
- Allow the filler to set up and then build up the repair with additional layers no more than 1/4-in. thick per application.
- Feather the final coat so it levels with the painted areas.
- After it cures, sand with a finer grit until smooth. Then apply a cream filler to the entire area to fill in any pinholes.
- Let it cure and do a final sand with a fine grit. Then you can paint the area with touch-up paint.
2021 Toyota Vios: Here’s A Look At The Prices, Features, And Variants
3. Remember the creases.
Auto detailing means covering every inch of the car down to the last detail. Sometimes, even after an hour-long session at the carwash, some parts get missed out. Make sure they receive the same tender loving care they deserve.
- Wrap a cloth around a worn screwdriver or plastic stick. Use something that has no sharp edges and spray it with an all-purpose cleaner.
- Move it gently along the trim lines to pick up dirt, using fresh sections of cloth as you go.
- Clean around the buttons and controls, and follow up with a rejuvenator like Armor All.
- For more sensitive materials like leather and wood, try some natural cleaners.
4. How to wash the windows
They say that the eyes are the windows to the soul. The car’s windows, on the other hand, are, well, the windows to the world.
And like this joke, your windows need some cleaning up as well. Don’t forget the top edges.
Notice that line of grime on the tops of windows when they’re partially rolled down? Most people overlook this detail when giving their vehicle a quick wash.
A few minutes with a window cleaner and a clean rag is all it takes.
5. How to scrape off old stickers
Scraping off stickers, especially when they’ve already set in your car’s body panels and windows are a pain to peel off cleanly.
While high-quality stickers will pull off easily when you peel them at the right angle (under a corner), others will leave a gummy residue and require a bit more attention.
No worries; nothing a little kerosene can solve. Put a dash of kerosene on an old towel, dab on the area, and wipe in one motion.
You can scrape the remaining residue with a plastic spatula. Then for good measure, wipe it off with another clean towel.
Top Car Insurance Companies In The Philippines: 2020 Update
6. Don’t just polish, rejuvenate.
If you believe that the best way to get a job done is to do it on your own, then this tip is perfect for you. You can rejuvenate your car’s finish yourself to get it close to that just-came-out-of-the-factory look. But it takes more than a simple wax job.
The process starts with a good wash, followed by scratch repair, polishing and a protective wax finish.
An auto detailing professional will charge upwards of ₱1,500 for this. But after a one-time investment for a polisher and supplies, you’ll be able to make your beloved car look like new.
The only downside: This takes hours, maybe even a half-day.
Have more auto detailing tips for us? Share them in the comments.
About the author
Kevin Joshua Ng Kevin Joshua Ng is a digital marketing professional and car enthusiast who has written for In The Garage, a trusted resource for car owners in North America.